Salesforce offers different kinds of tools to automate business processes. Workflow is one such automation tool in Salesforce. It helps us to automate the process whenever the record is created or updated.
Following are the actions that can be performed using workflows:
- Email Alert
- Field Updates
- Task
- Outbound Messages
In this blog post, I am going to show you how to send a customized email using an email alert in Salesforce.
We are going to consider a scenario of a banking system, where whenever a new customer account is opened an automatic welcome email has been sent to the customer notifying them about the account opening, along with their account details.
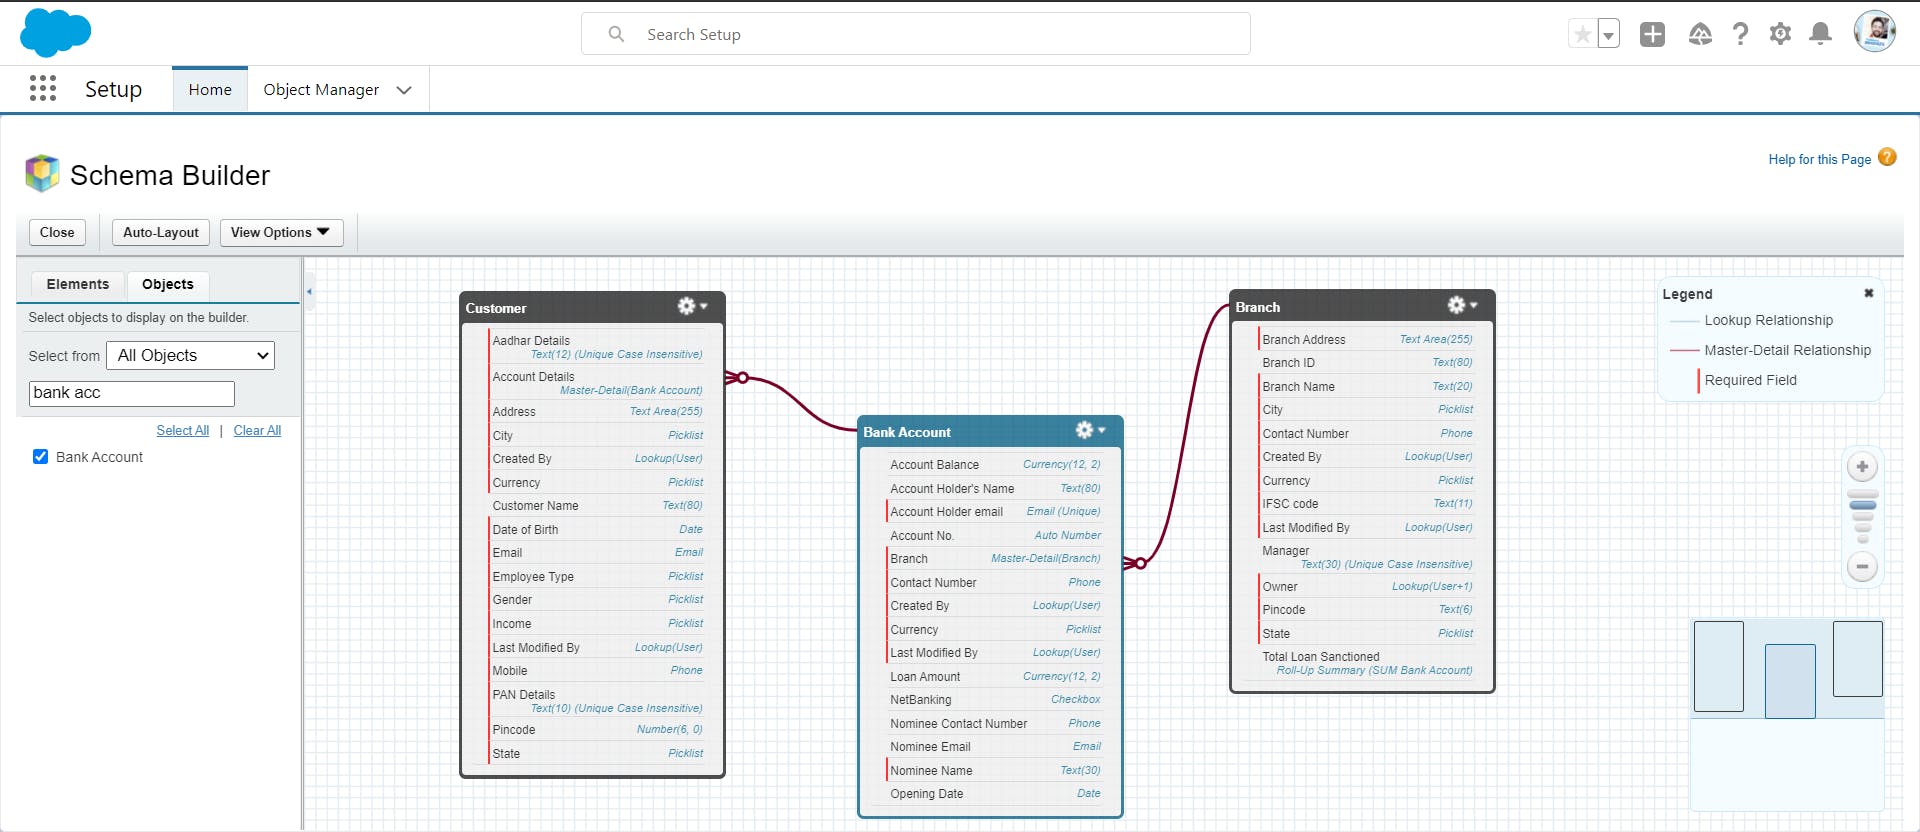
Schema Builder is a tool in Salesforce that is useful in visualizing the objects and the relationship between them in Salesforce.
You can see how different objects of our scenario are related to each other
There are 4 types of email templates provided by Salesforce to send emails.
- Text
- HTML with Letterhead
- HTML without Letterhead
- Visualforce
In our case, we are going to use the HTML with Letterhead email template.
Classic Letterhead
To use the HTML with Letterhead email template first, we need to create a letterhead. This letterhead is used to set the look and feel of the HTML email template.
SETUP --> Emails --> Classic Letterheads
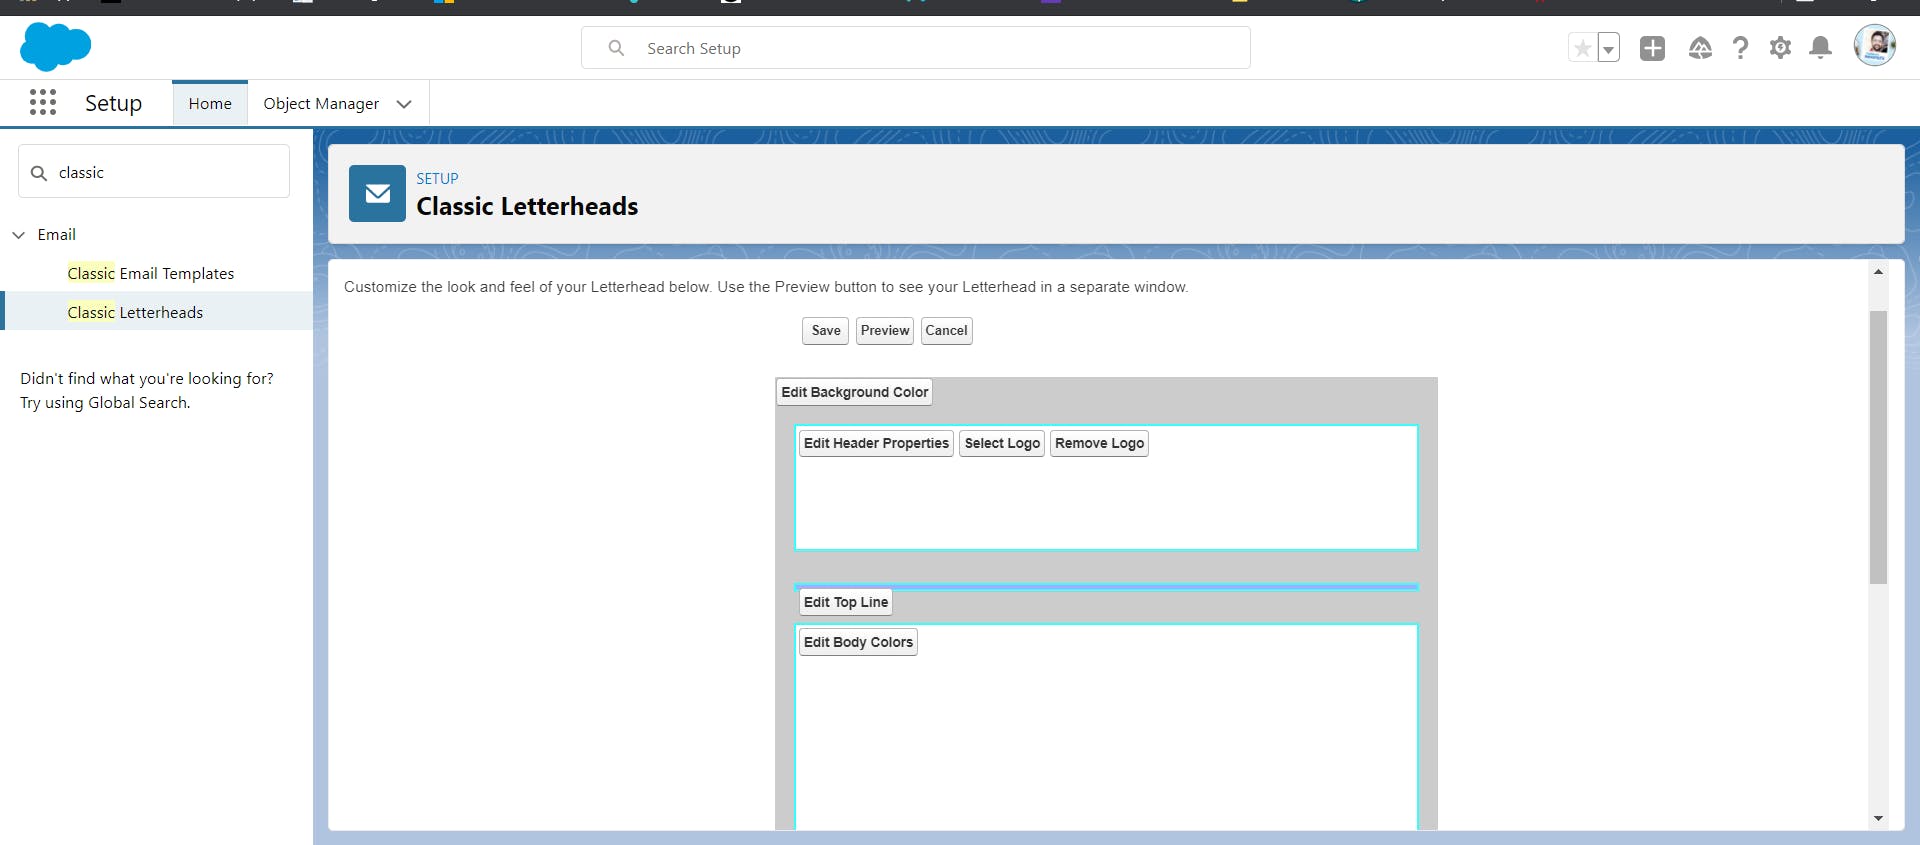
Using letterhead, we can configure the format of our email.
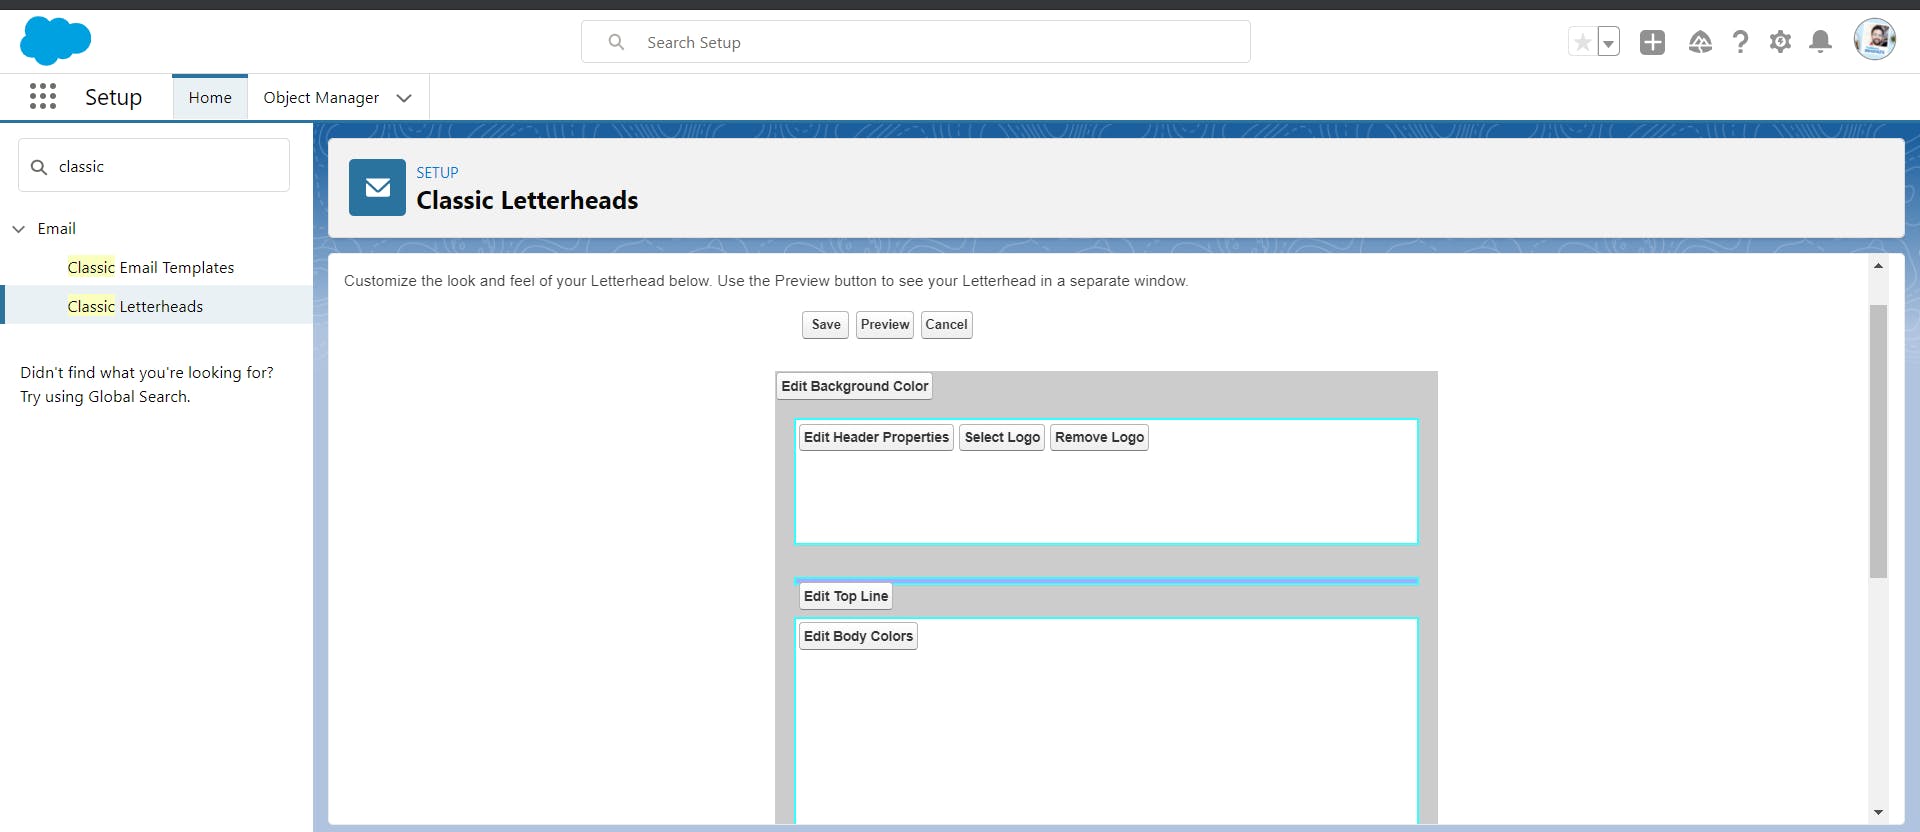
Once the letterhead is created we can go to email templates and create a new template.
Email Template
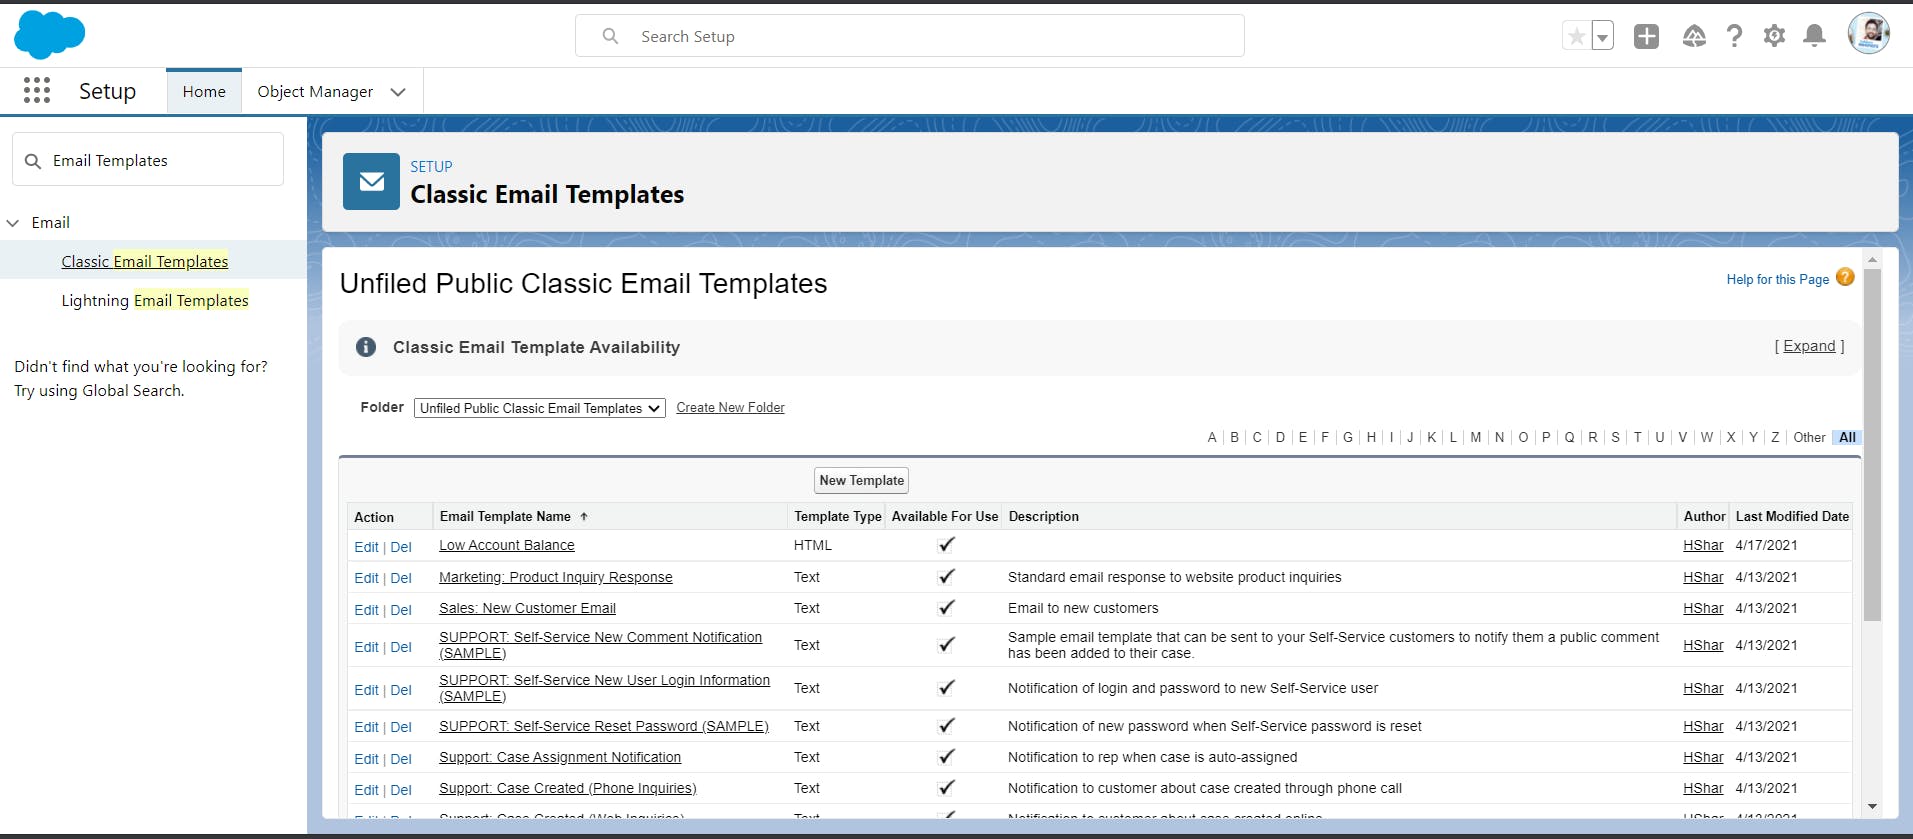
SETUP --> Emails --> Classic Email Templates
Email templates are always saved in folders. In every Salesforce org. by default Unified public Email Templates and My Email Templates folders are available.
Templates stored in the Unified public Email Templates folder are accessible to every user in the org.
Click on the New Template button.
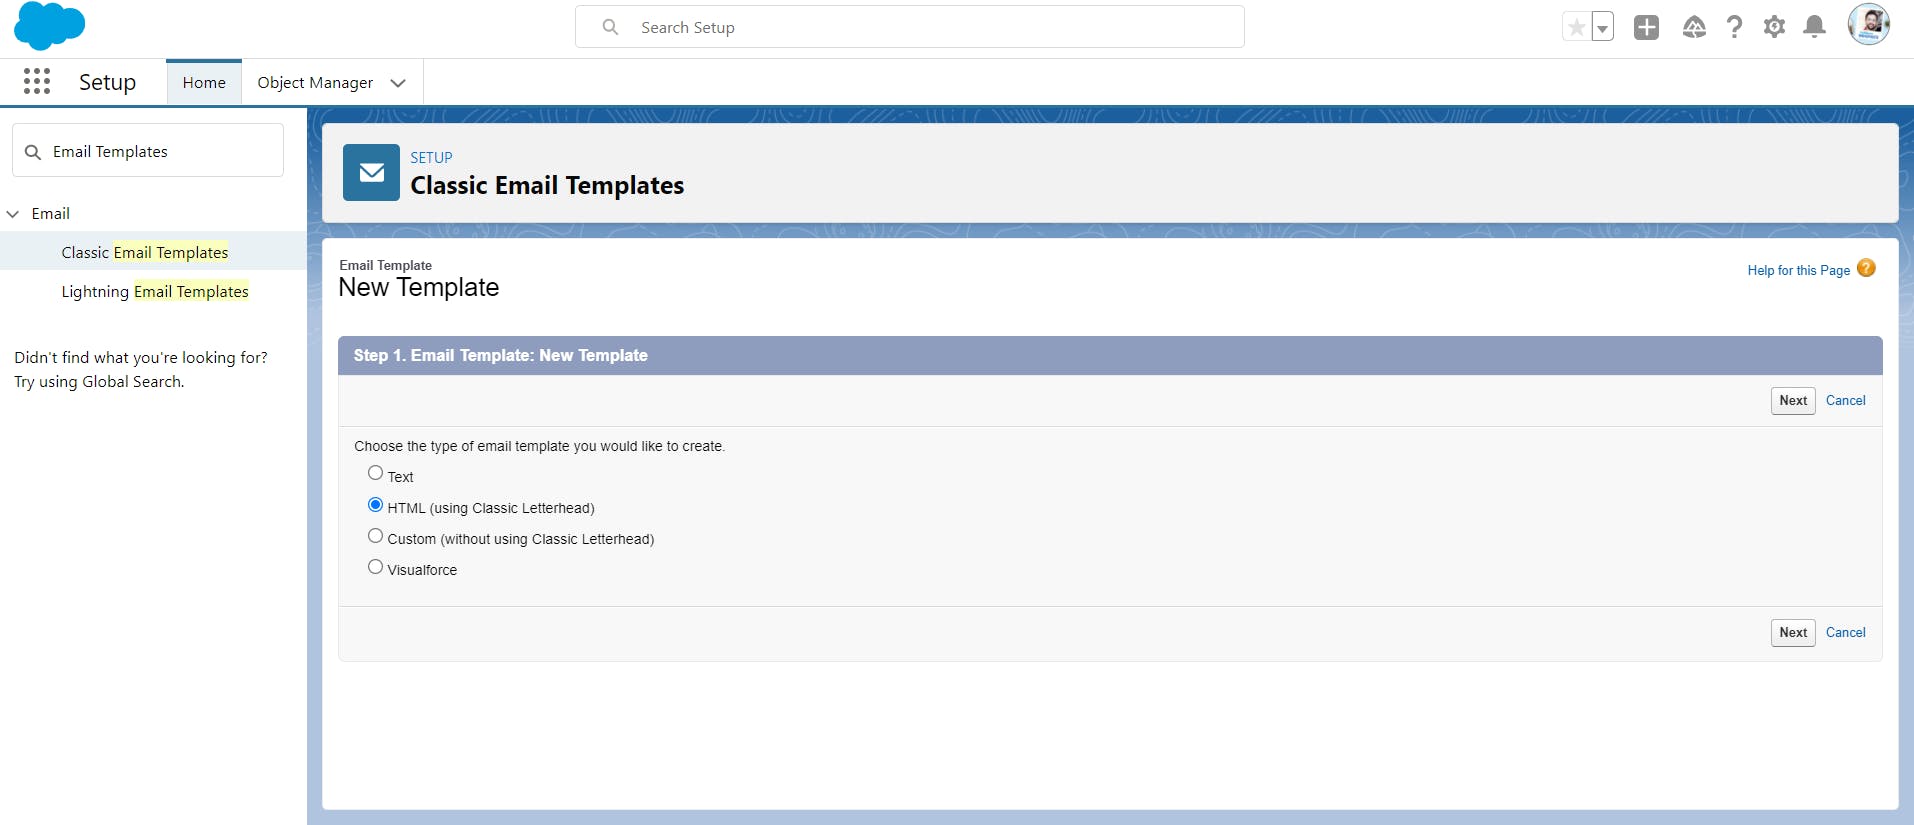
Select the email template type as HTML (using Classic Letterhead)
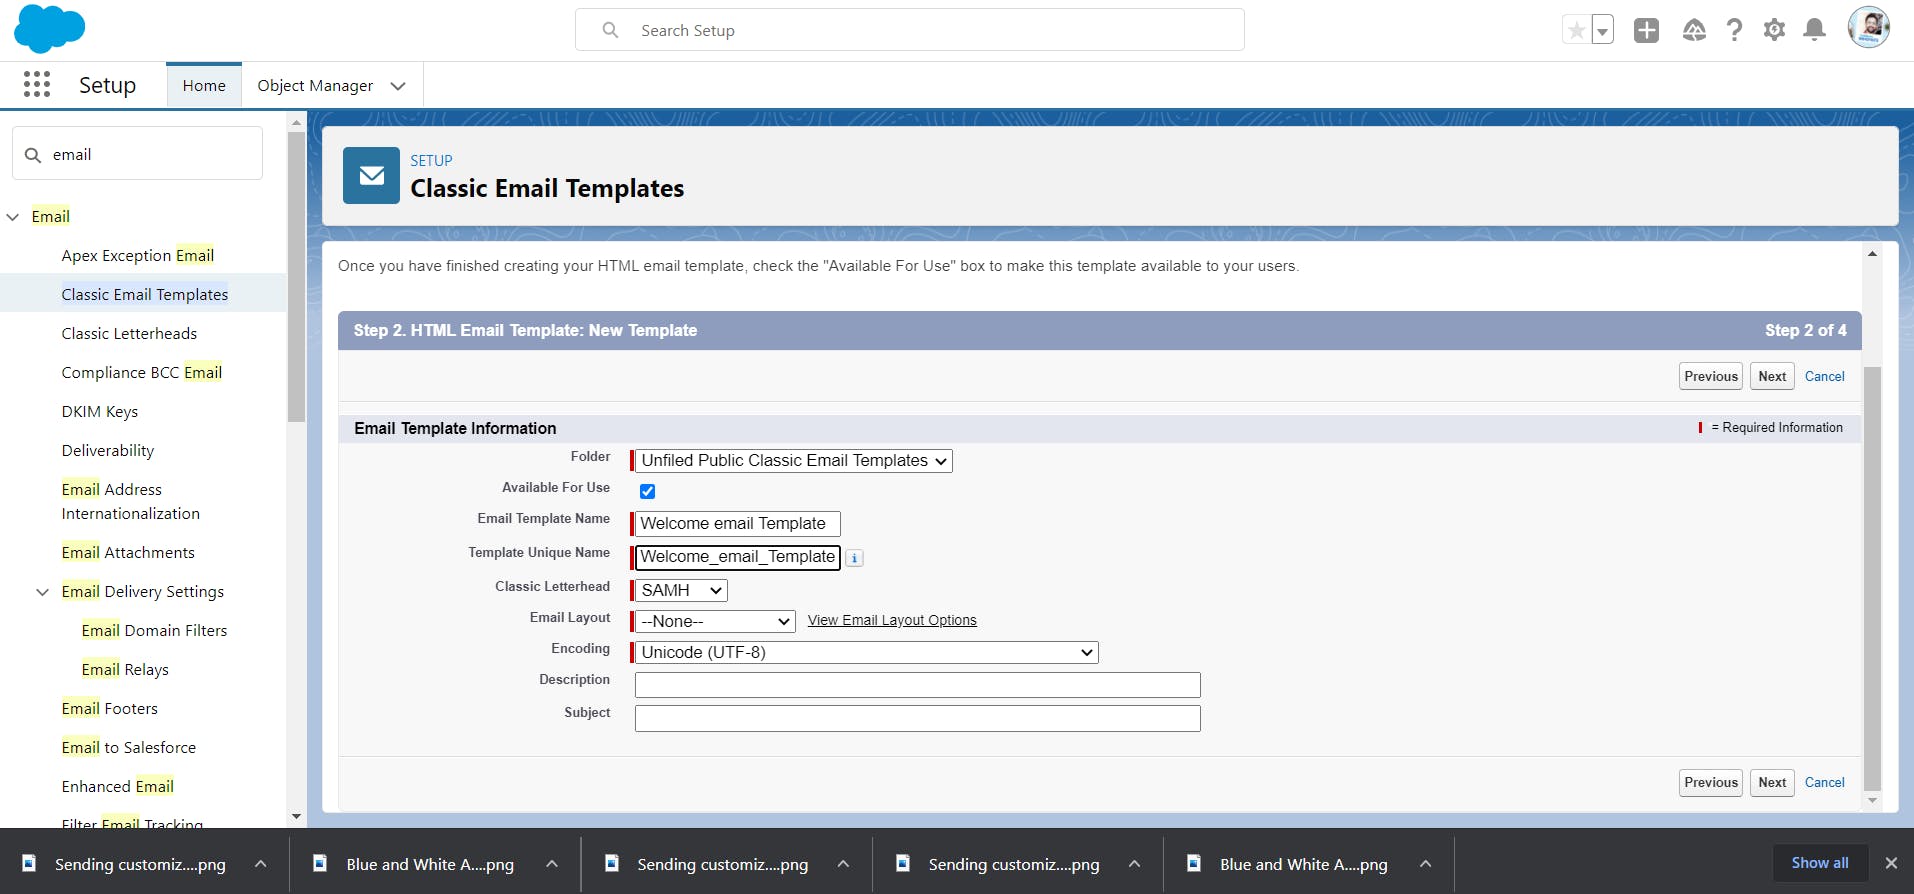
IMPORTANT: In order to make the email template accessible in Email Alert do remember to check the Available For Use checkbox.
Email layout filled will be "Free Form Letter". Fill in the other required fields and click next.
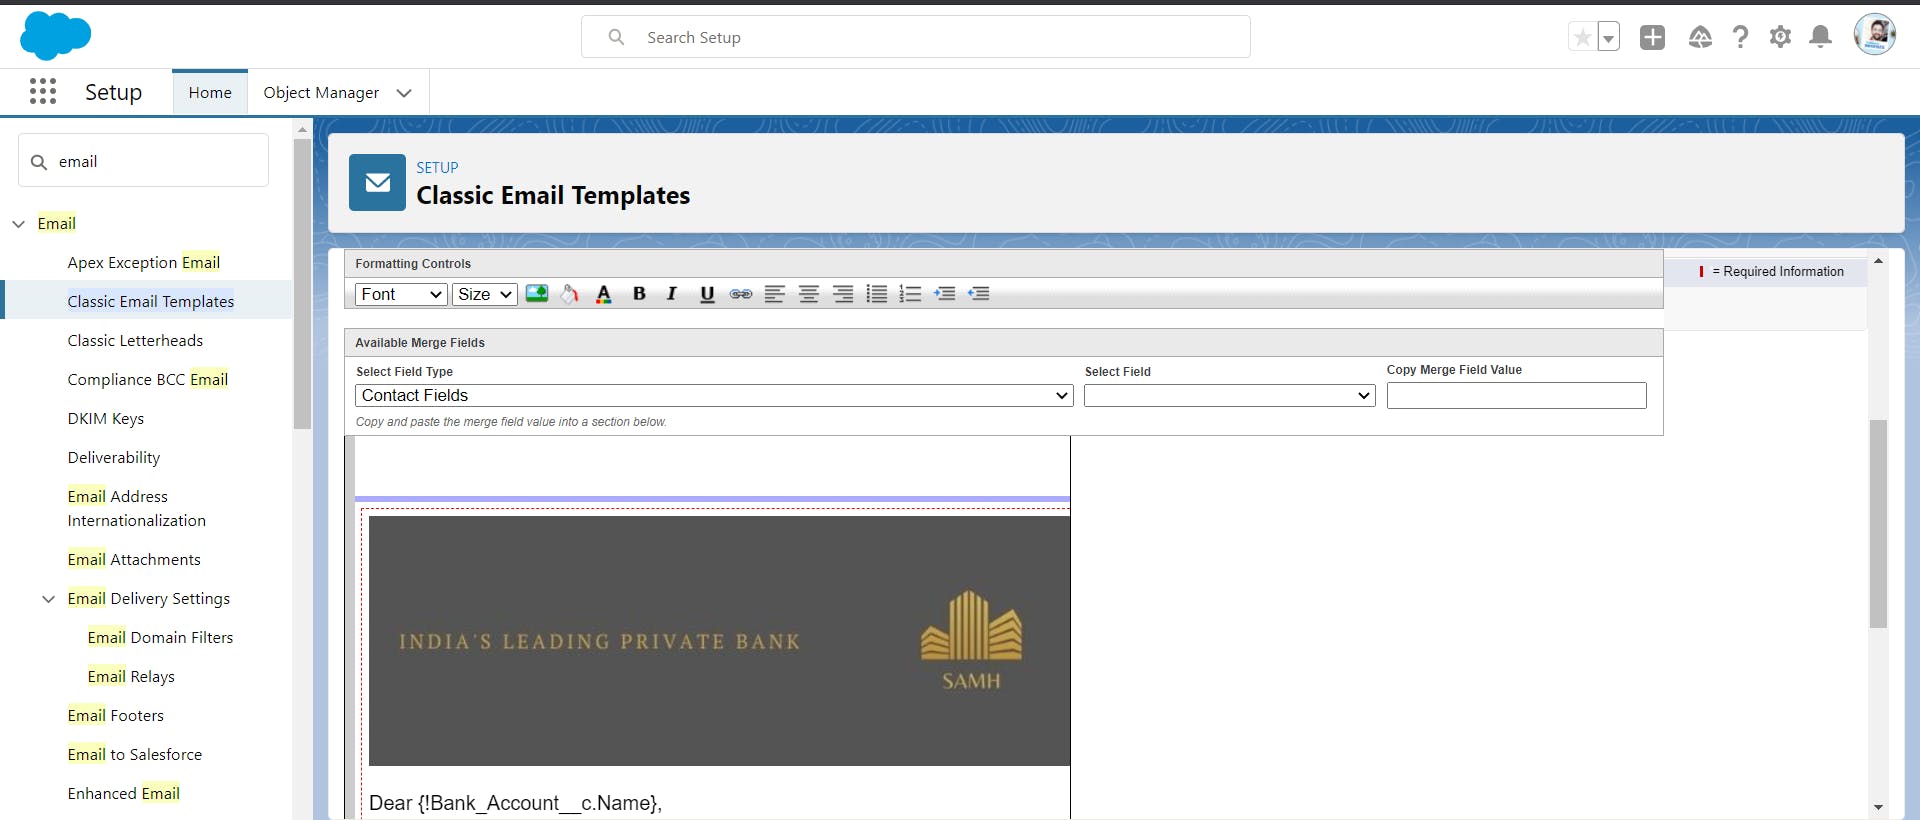
In this section, we can customize the HTML content of our email. To add an image into our email we need to first upload it to the documents in our Salesforce org.
In case you are using the Salesforce lightning org. switch to Salesforce classic as the document tab is not available in the Salesforce lightning org.
Click All Tabs
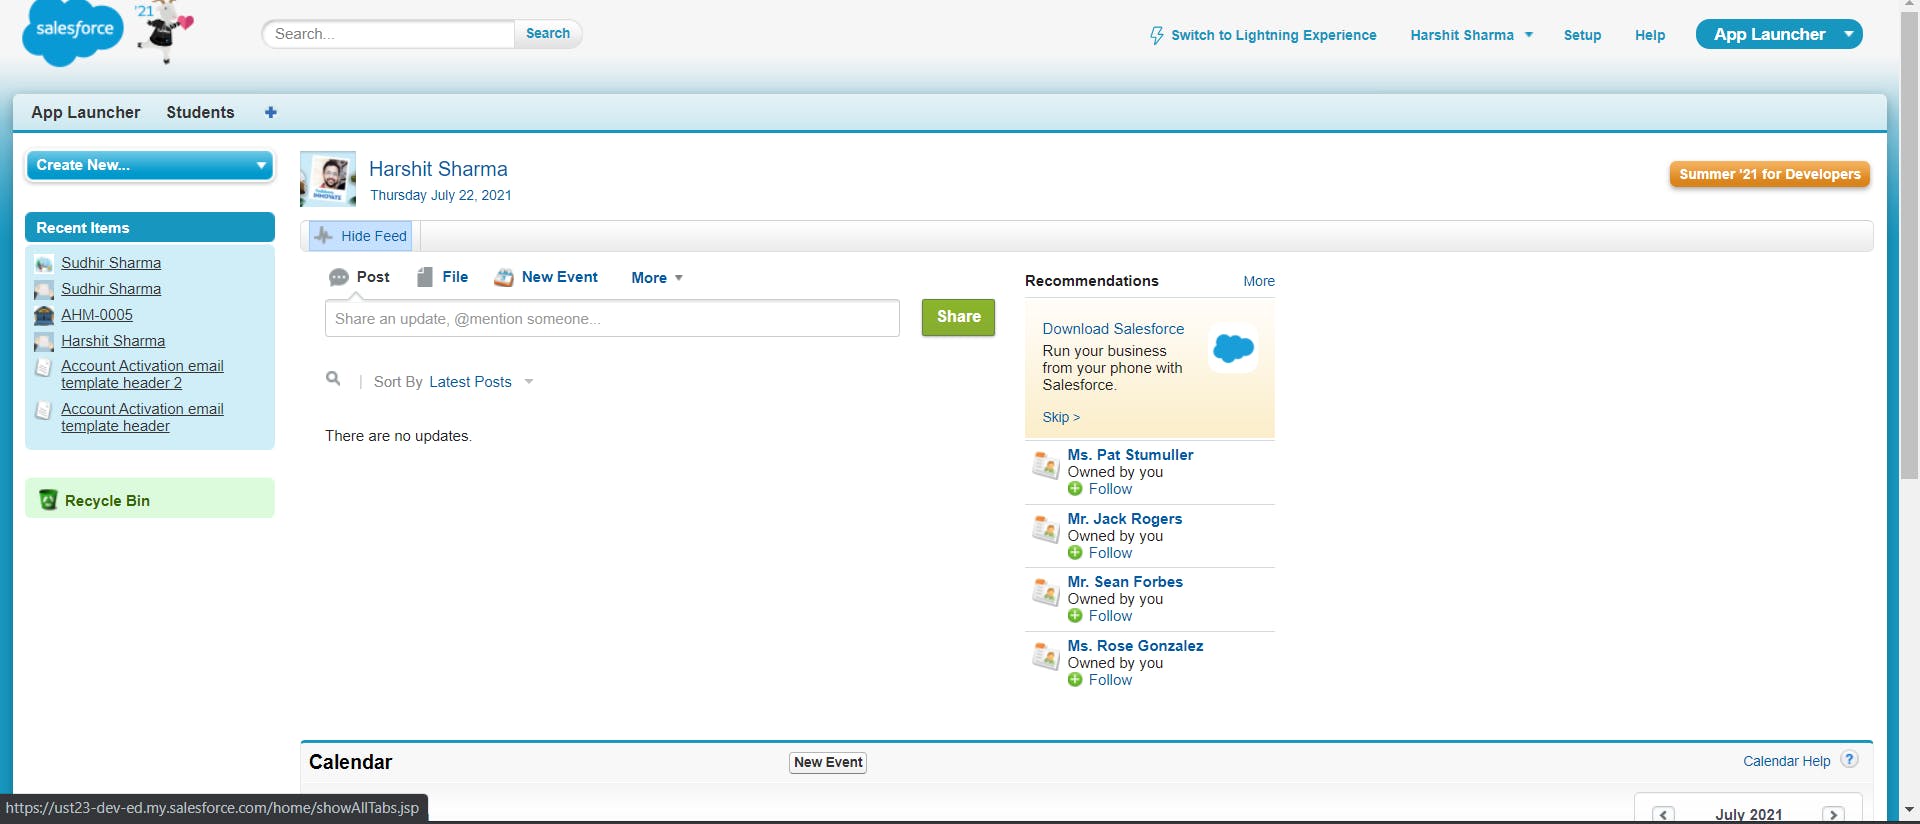
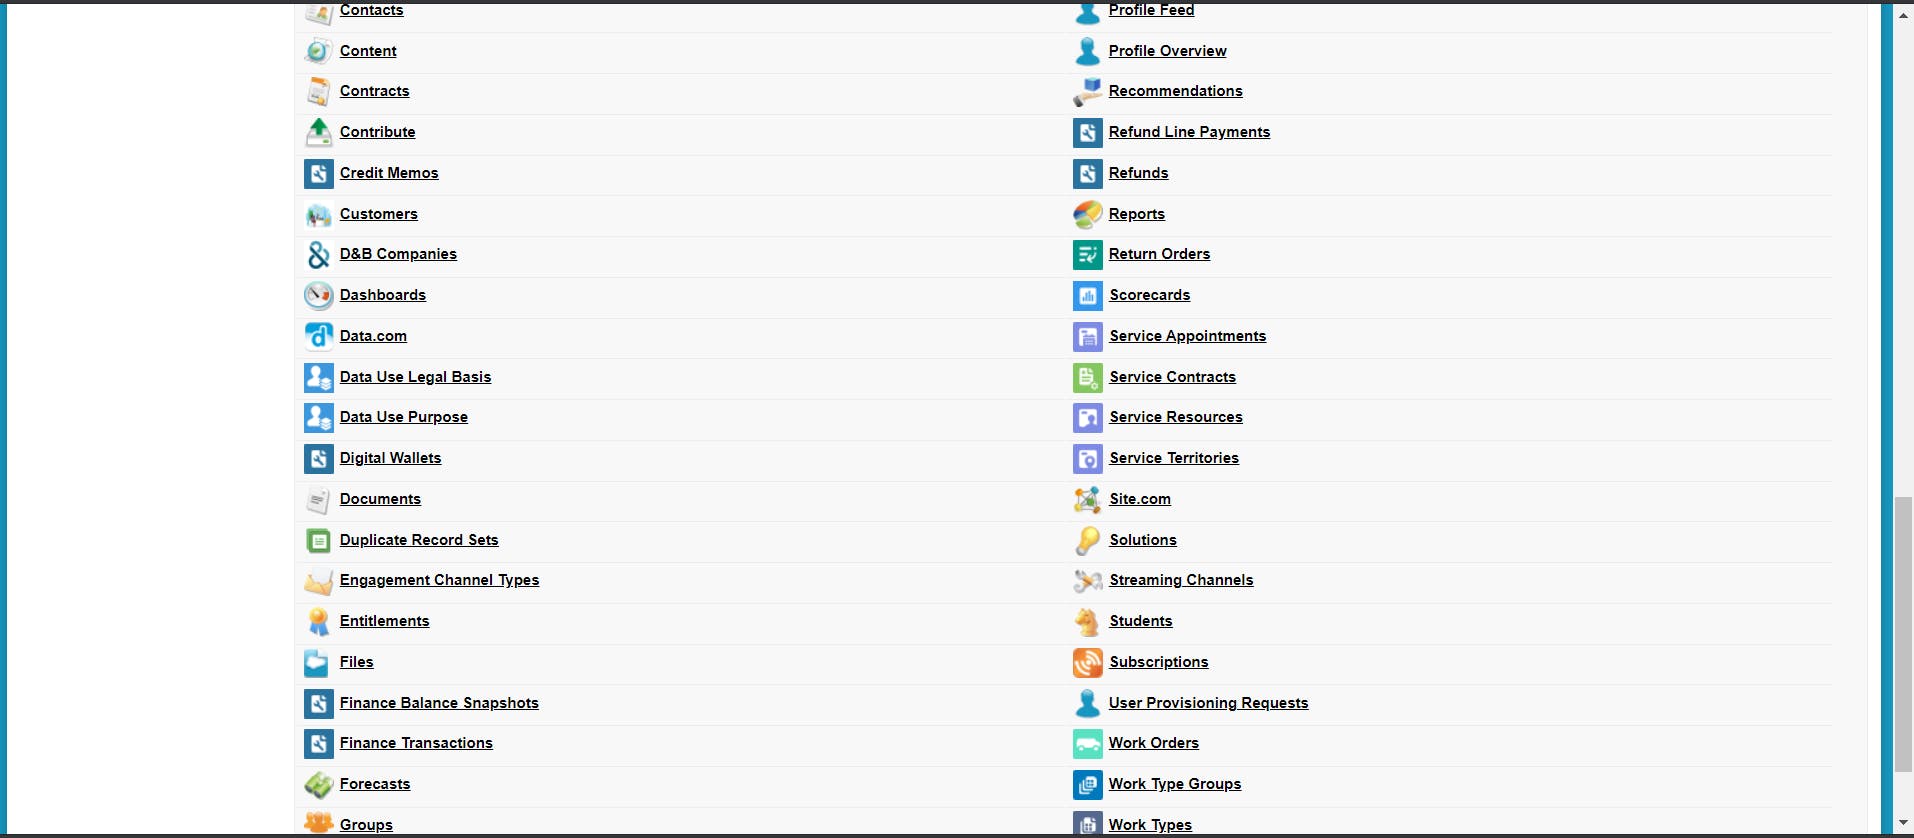
Select Document Tab
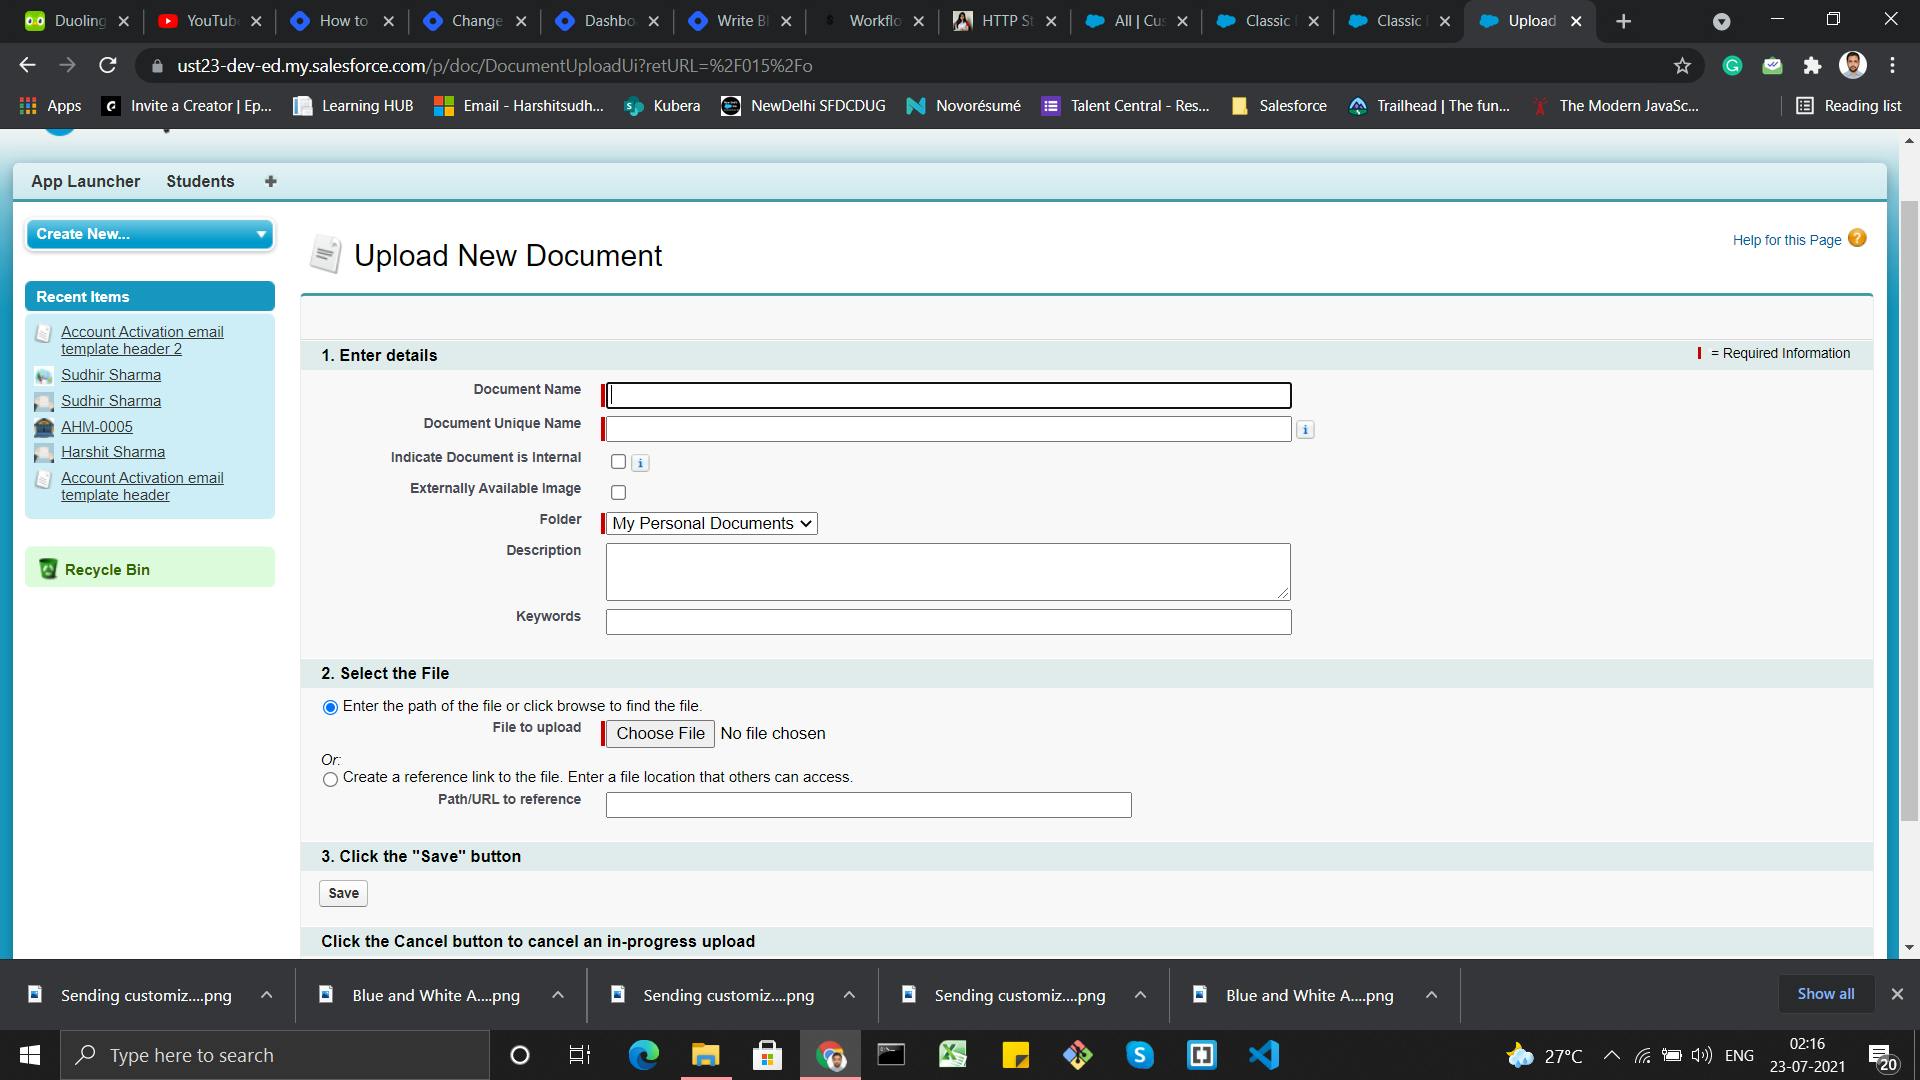
In the recent documents section, click the new button
Upload the file and fill in the required details. Do mark the Externally Available Image checkbox as checked.
Once the image is successfully uploaded in the Documents tab we can utilize the image in our email templates.
For our example, for each new enrollment of the bank account, the customer details are unique. To make the welcome email more personalized we will pass the unique information to the respective individual account holder.
As shown in the below-mentioned image, from the available merge fields section we can copy the merge field value which can be later utilized in our email content for passing unique value for each customer.
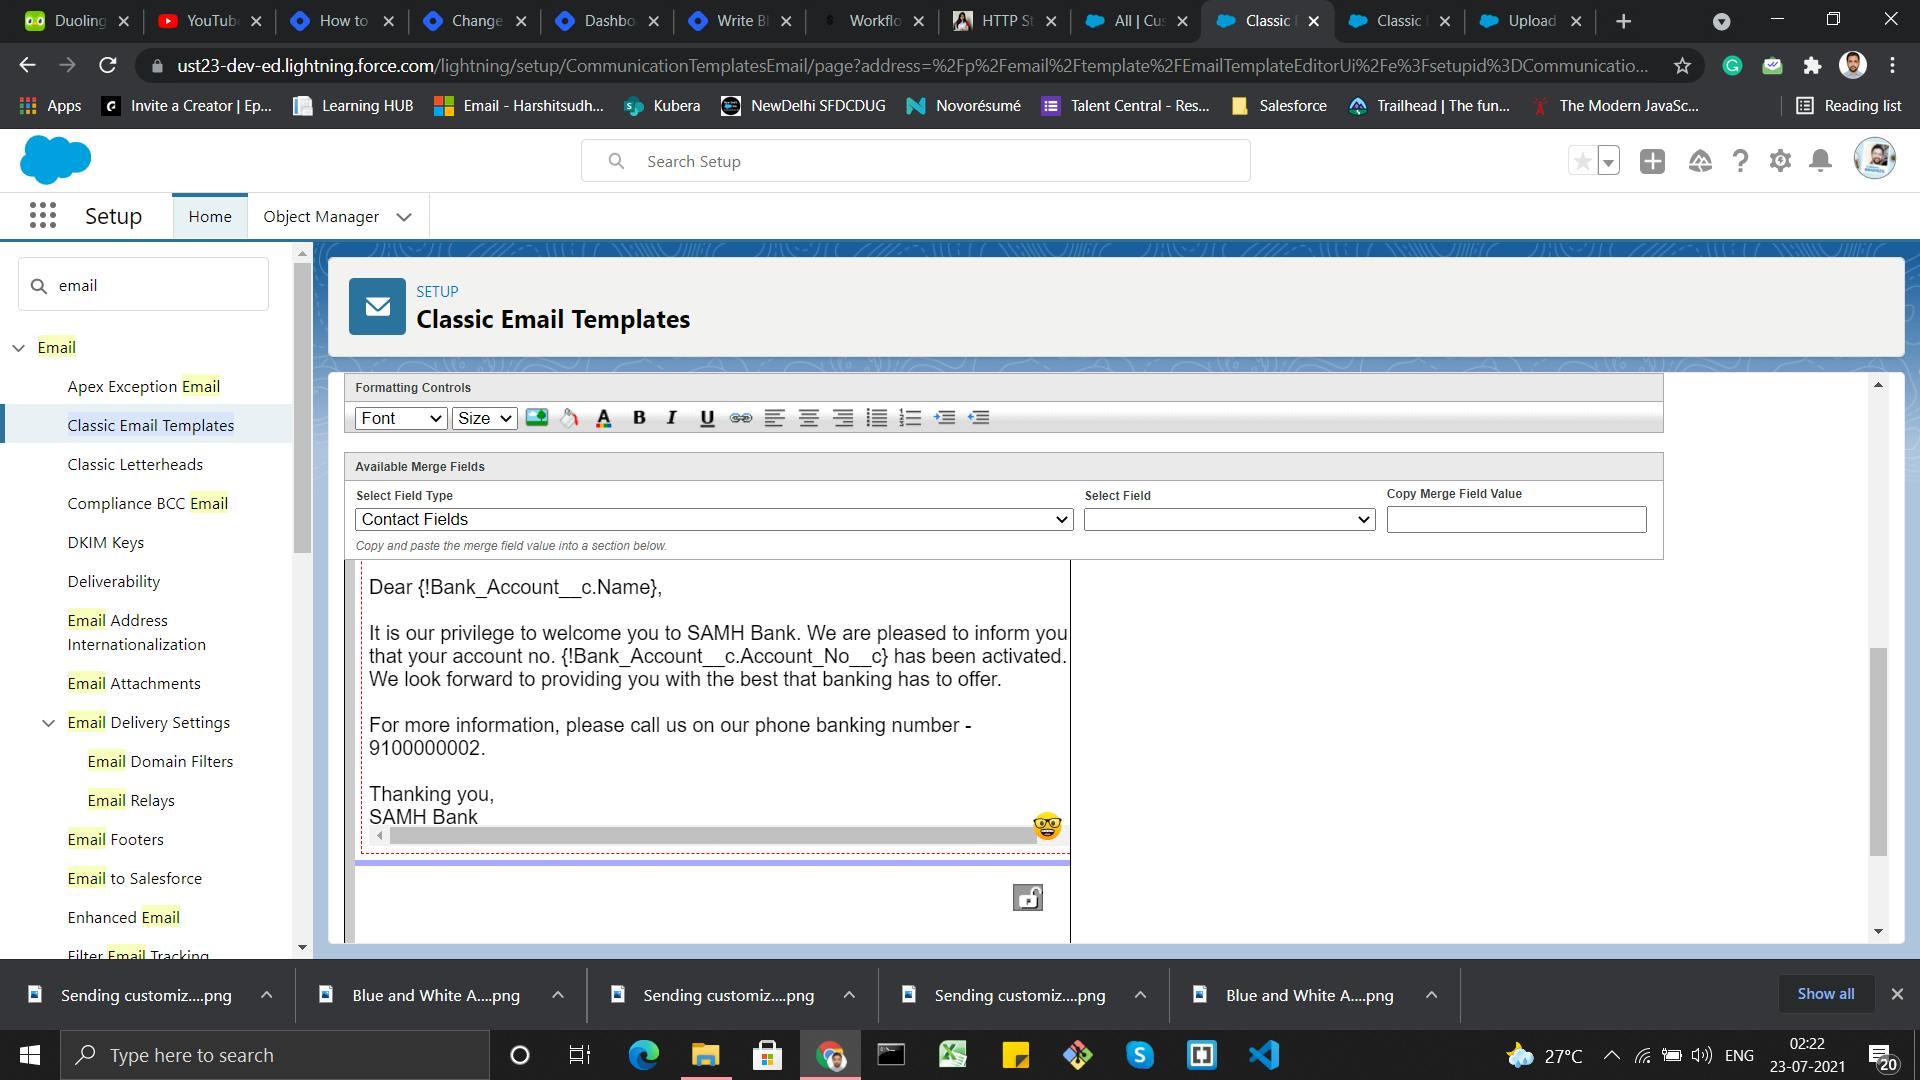
{!Bank_Account__c.Name} is the merge field value that we are passing in order to address each account holder with their unique name.
Once the email template is successfully created we can click Next and Save.
Create Workflow Rules
Setup --> Workflow Rules -->Continue -->New Rule
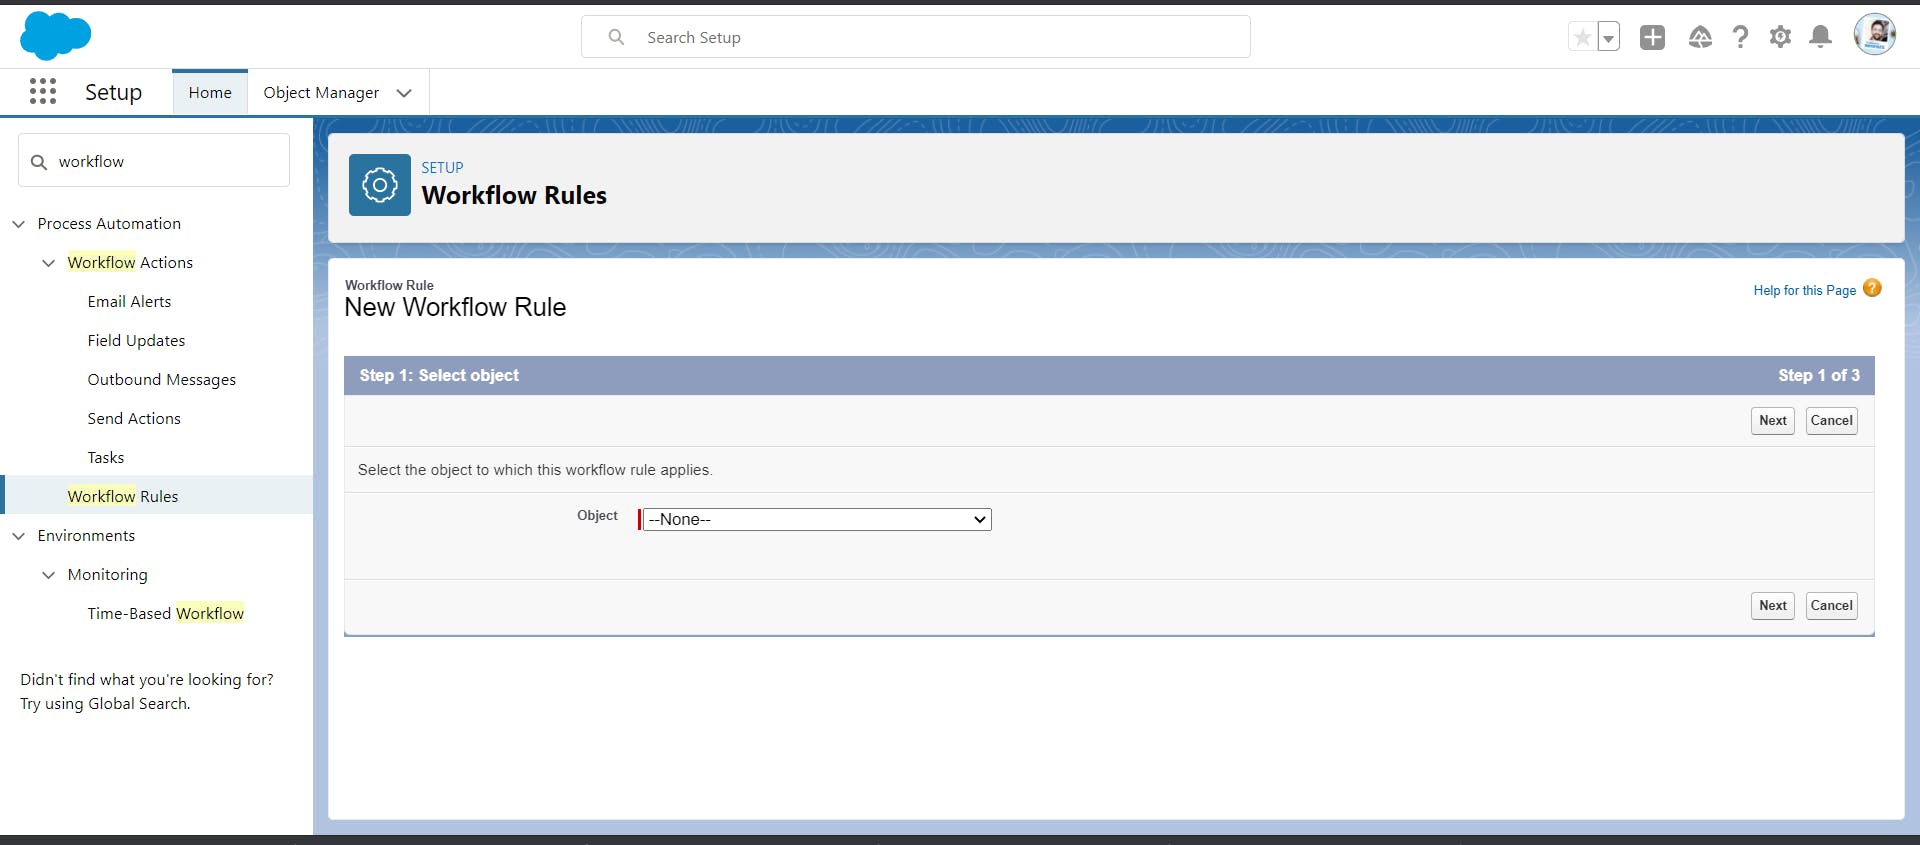
We will create a workflow rule on the object Bank Account to send email with evaluation criteria set to " whenever a record is created".
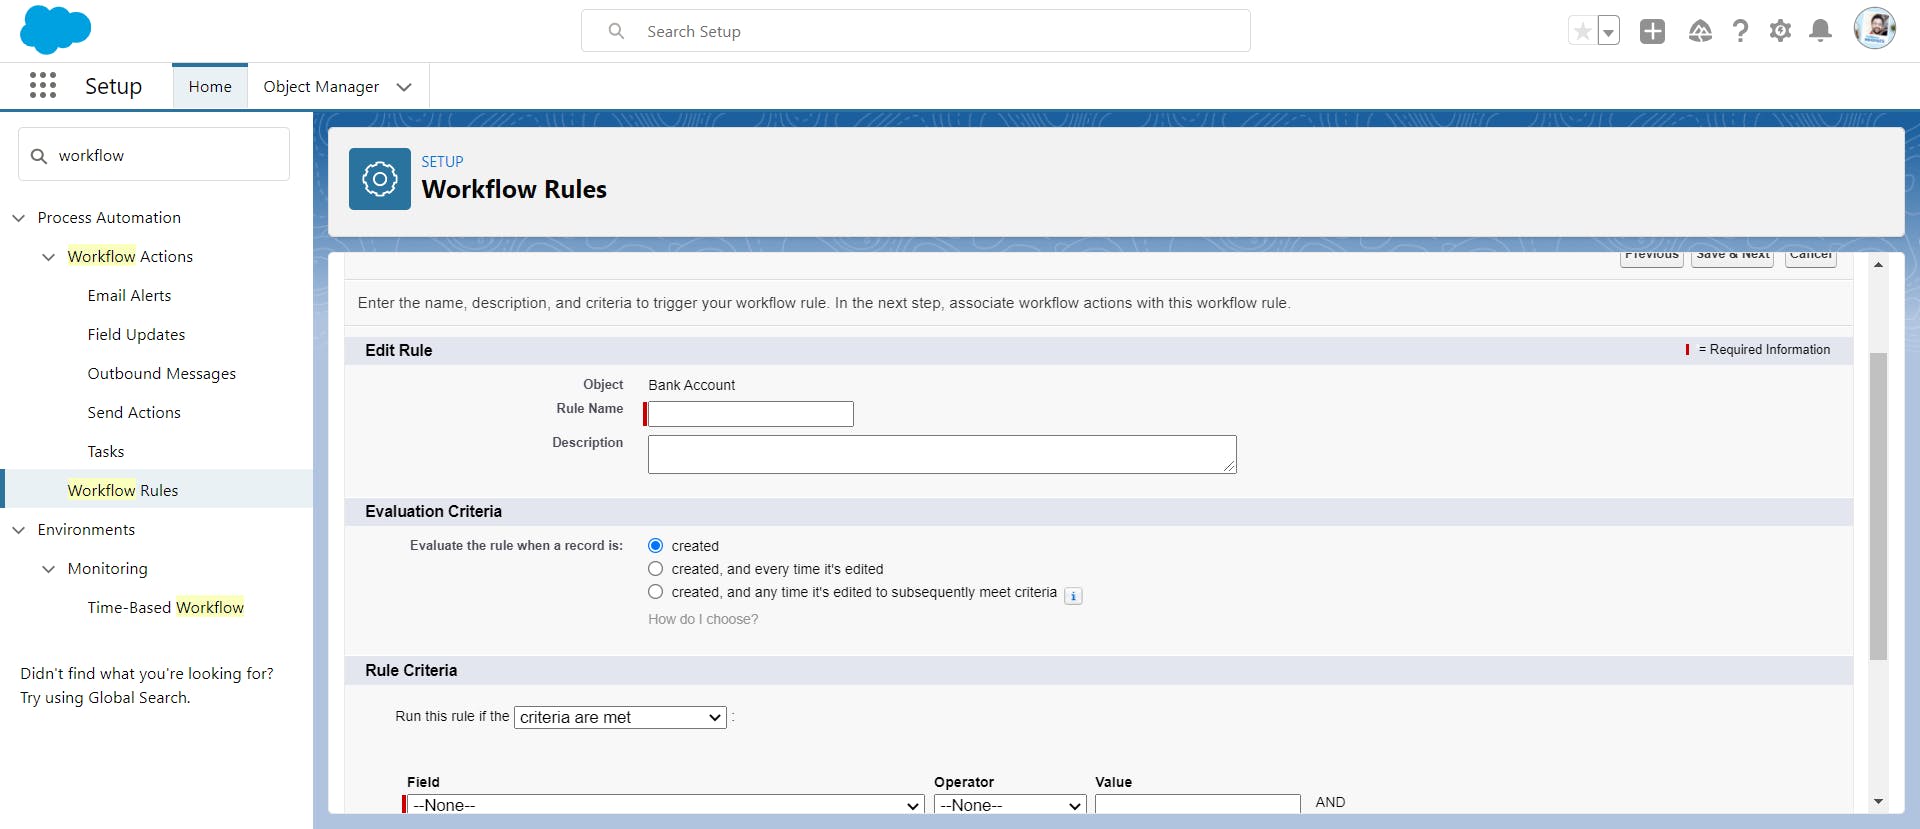
Rule Criteria -->Run this rule if the "formula evaluates to true" Write "true" in the formula box and check the syntax for error. If the formula satisfies the rule criteria click Save and move the Immediate Workflow Actions
Create Immediate Workflow Actions

We will create a New Email Alert action to send the emails using workflow.
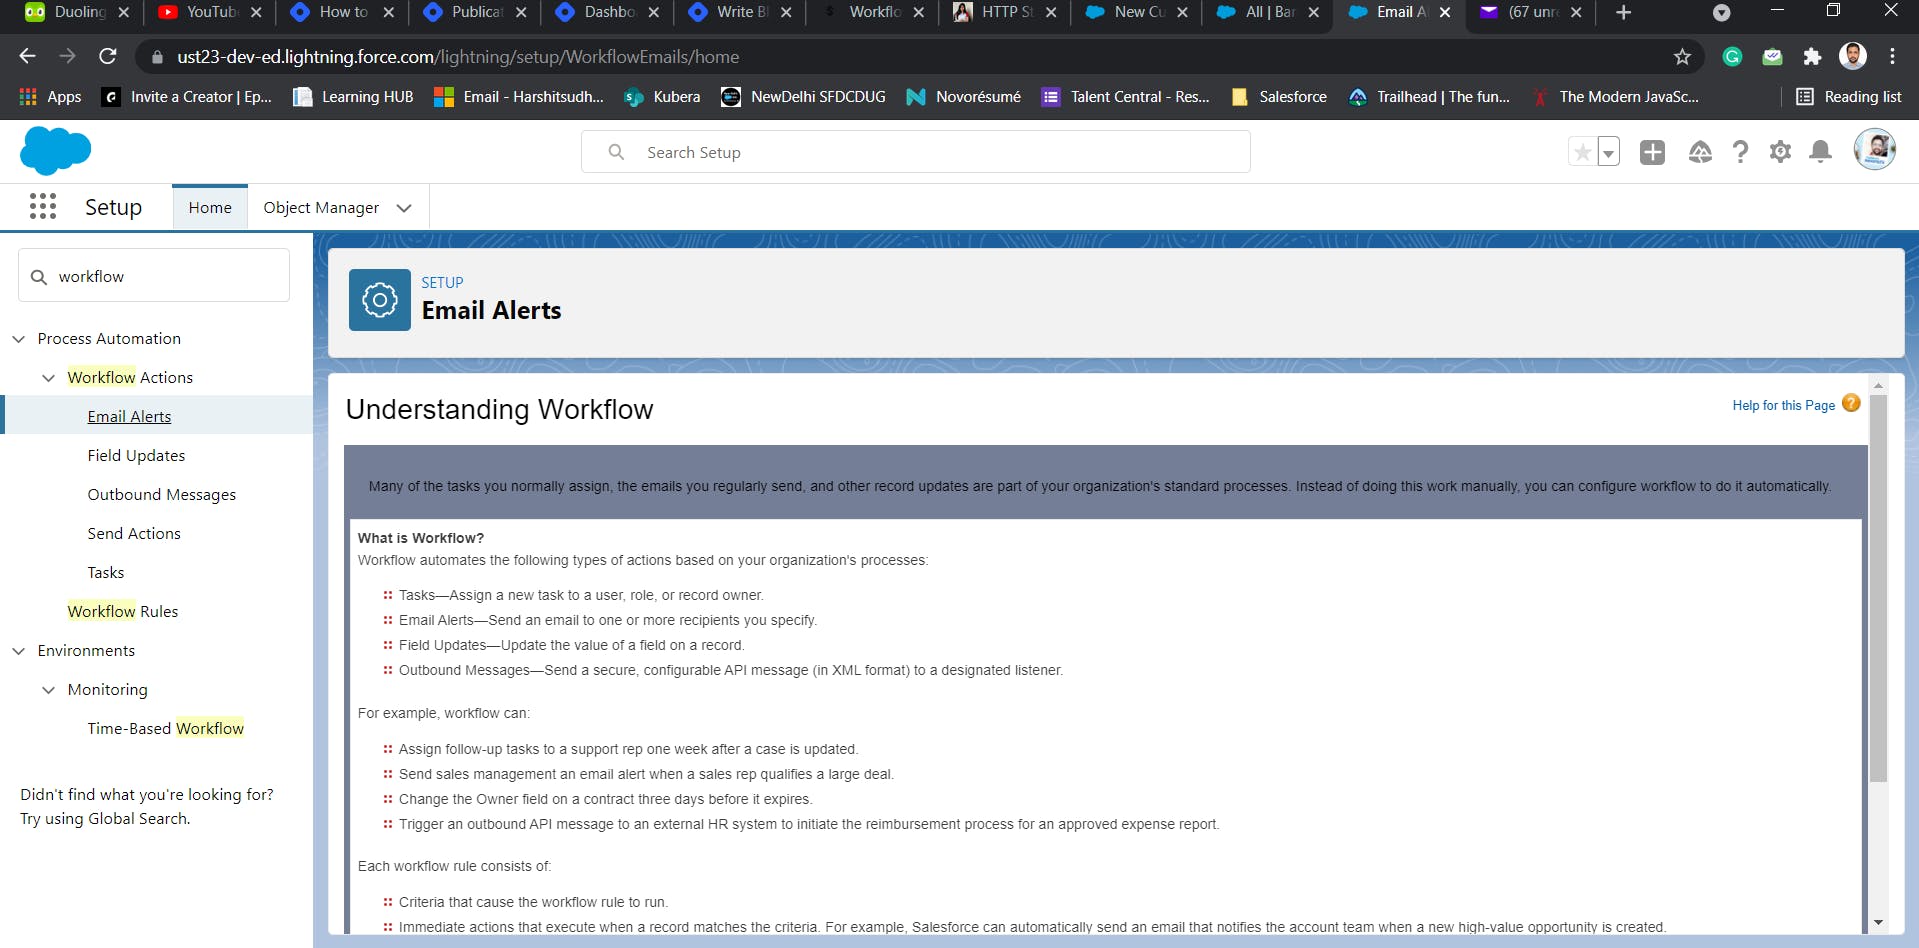
Click continue button and then New Email Alert button.
Fill in the required details.
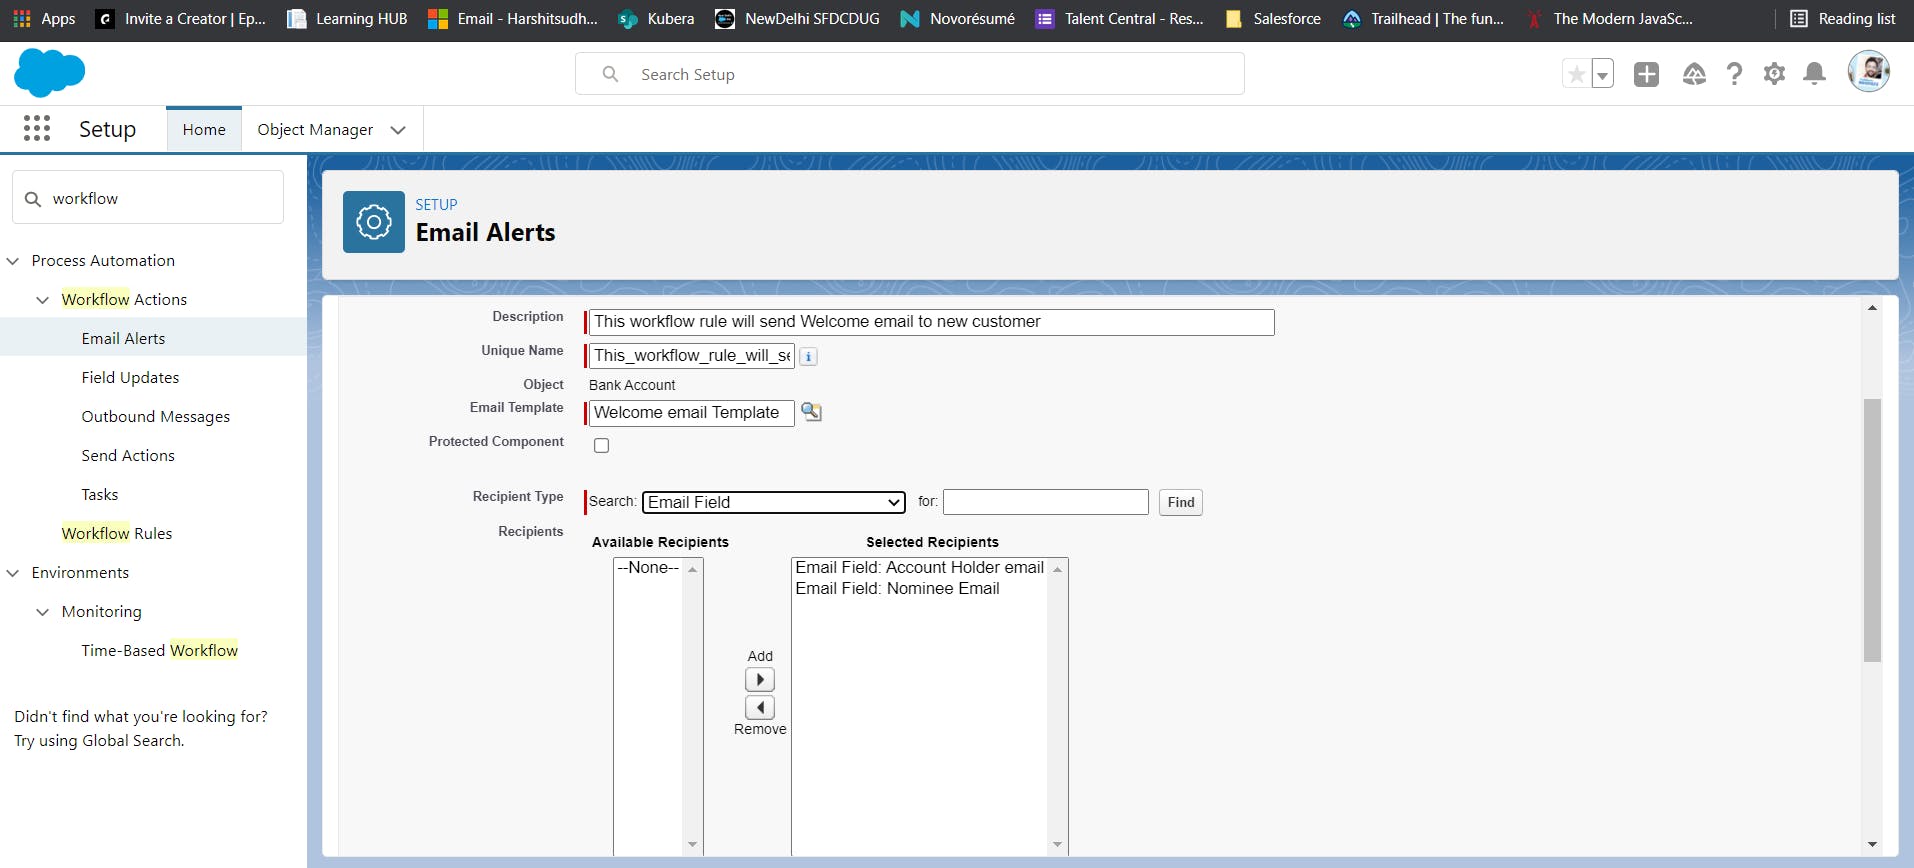
In the recipient type we have selected the email field as we want to notify the Account Holder and the Nominee via email once the account is opened.
In addition to these emails, we can enter up to five email addresses that are to be notified.
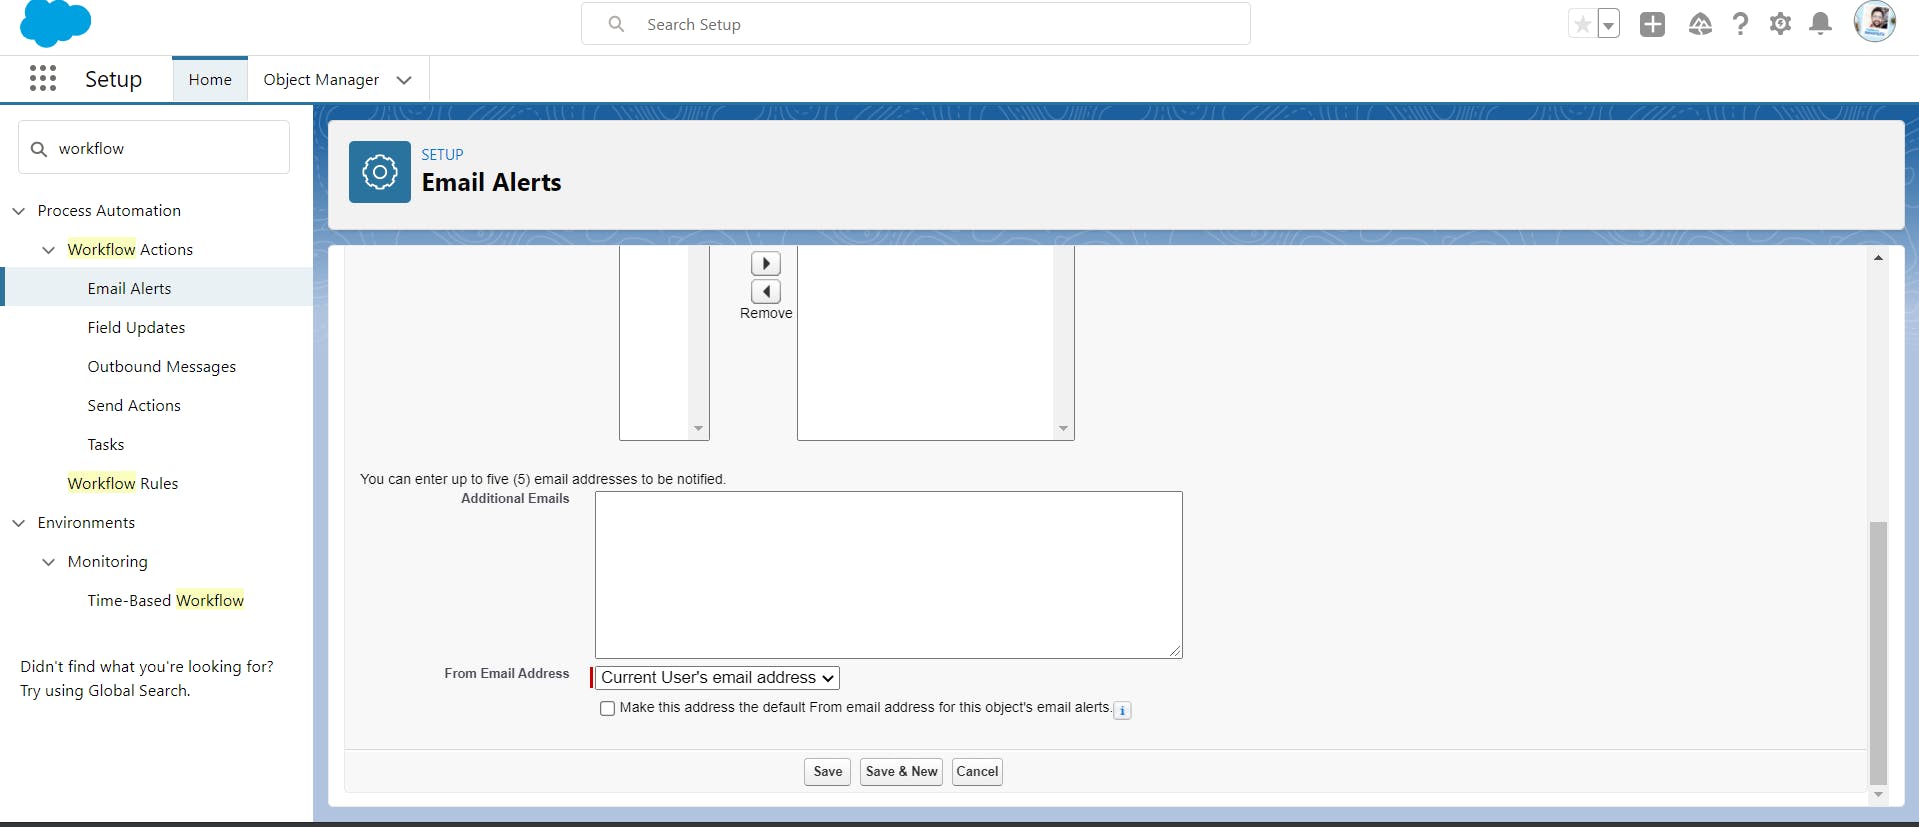
Click Save button to save the Email Alert Action.
Bank Account
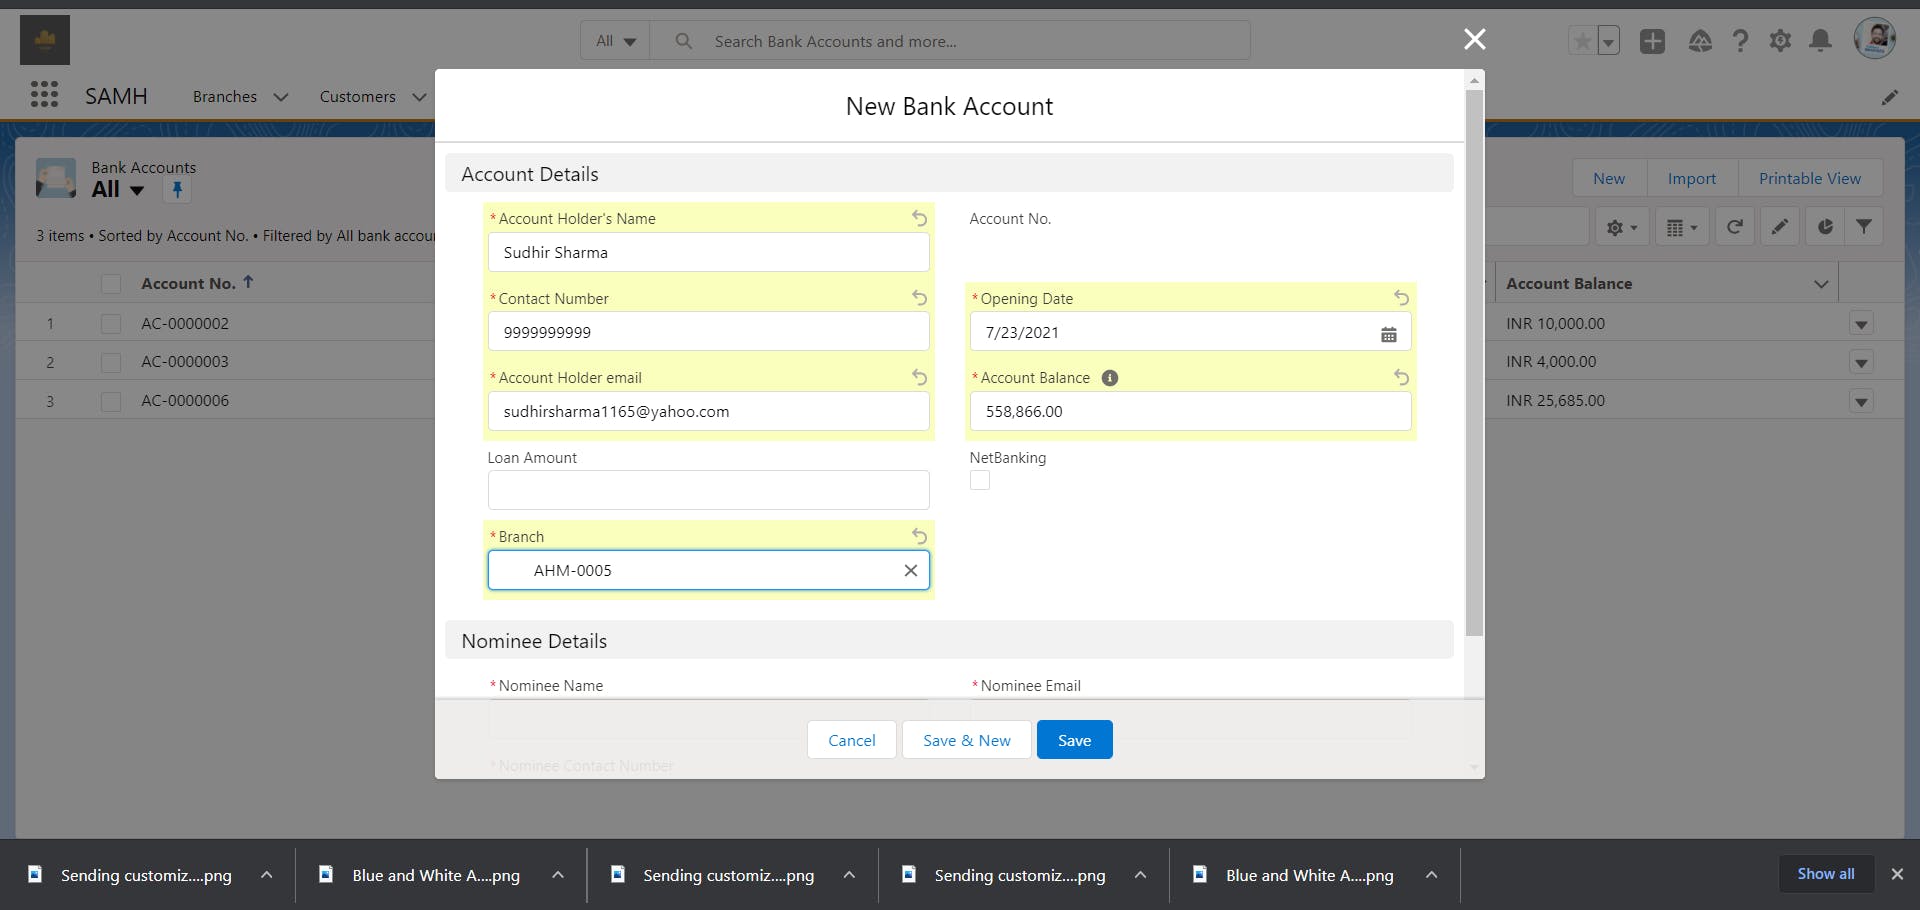
Now we will create a new bank account to trigger the workflow rule.
Entering Account Holder's details
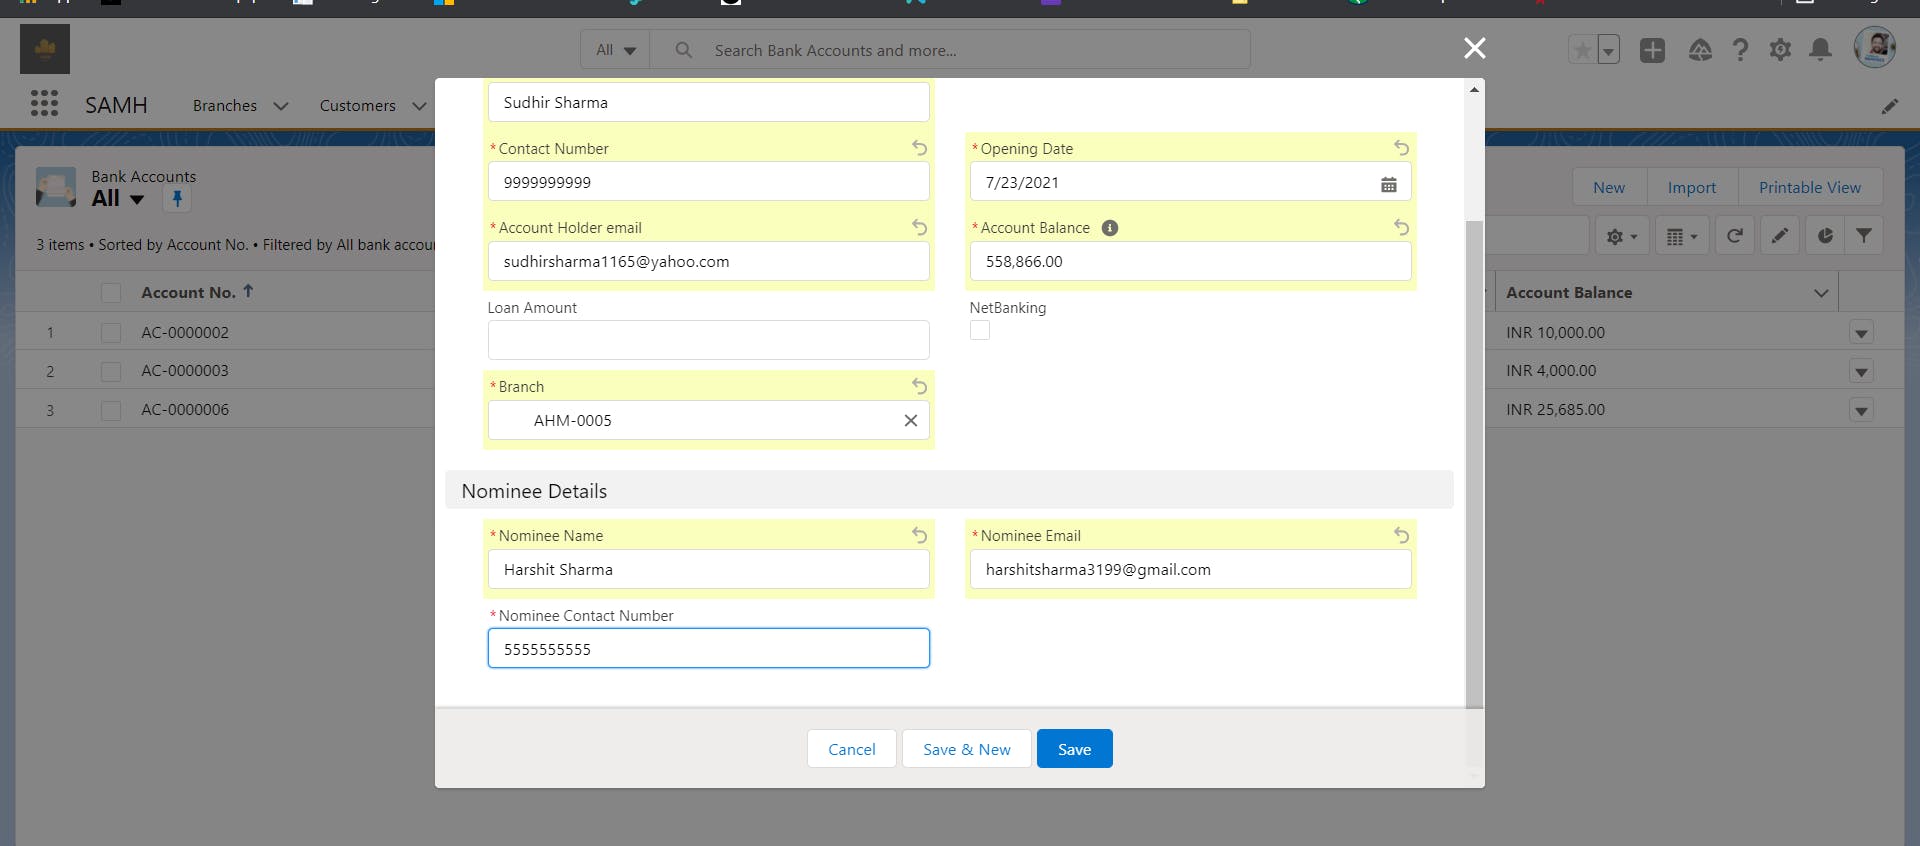
Entering the Nominee details.
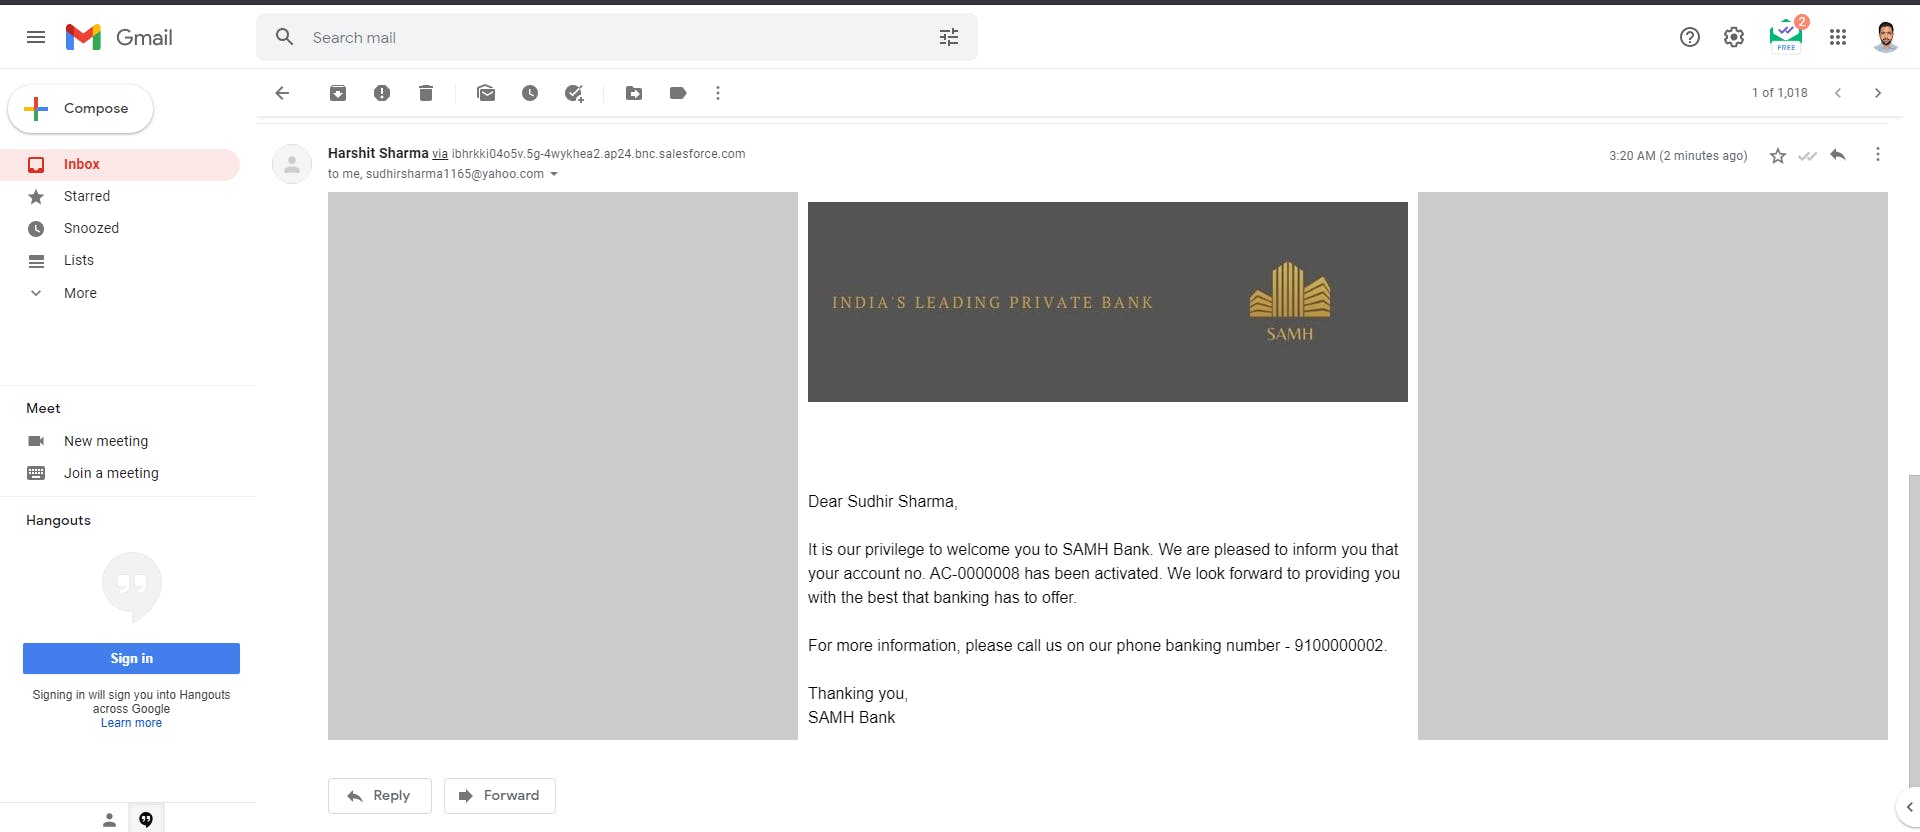
Welcome email received by the Account Holder at their respective email ID.
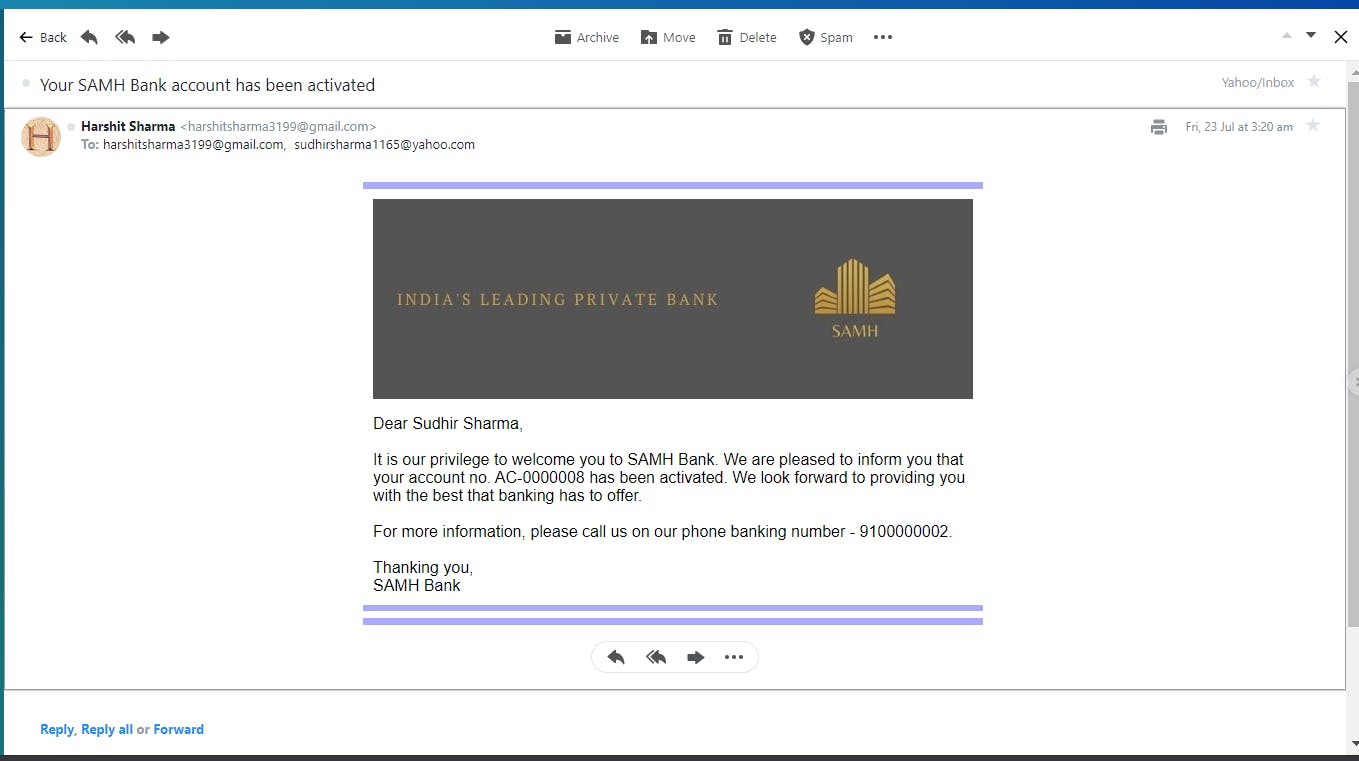
Welcome email received by the Nominee at their respective email ID.
That's all for this article. Thank you for reading. If you found this article helpful please do like and share the article, It will motivate me to write more such articles. Do share your valuable suggestions and feedbacks in the comment section.
If Salesforce is something that interests you, please do subscribe to my newsletter to get updates every time I write something new.
Thanks for reading
I would love to connect with you at Twitter | LinkedIn
See you in the next blog !!
